This is number 1 in a series of introductory Kivy tutorials.
Central themes: Starting an App, getting Kivy running
It’s essentially compulsory that the introduction to any programming project should be a “Hello World!” application. Since Kivy is a GUI framework, that means opening a window and displaying the words on the screen. Start by adding each of the following lines to your program:
from kivy.app import App
This imports the App class, which you’ll use as the core object of any Kivy application. Your instance of this class will create the Kivy window and serve as the top level of your application
from kivy.uix.label import Label
This next import introduces one of Kivy’s most important components; the Widget. Your entire application will be built with Widgets, each of which does a single (relatively) small task. For instance, Label is a Widget that displays some text, Button is (obviously) a button, and Layouts are Widgets that contain other Widgets and control their positions according to certain rules.
You can find the documentation for Label here. We’ll need this later!.
In every Kivy application, your first task is to create an App subclass as follows:
class YourApp(App):
    def build(self):
        root_widget = Label(text='Hello world!')
        return root_widget
The build method is the only important addition you have to make, and is your application’s entry point. This method must instantiate and return what will be your root widget, the top level widget of your Kivy application, which will in turn contain all your other gui objects.
The root widget will automatically fill the window, so in this case the Label text will appear right in the middle.
In our case, the application only needs a single Widget; the Label displaying our text. We set the text by simply passing it as an argument. This works automatically because text is a Kivy property of the Label widget…more on that later.
Finally, add a line of code to start the app:
YourApp().run()
This instantiates and runs the instance of your App. Any Kivy application is created and started with some variation of these basic steps.
Now…run the code!
python your_filename.py
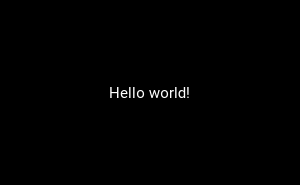
You should see a Window something like the following image. Congratulations, you’ve written and run your first Kivy application.
Next tutorial: Improving appearances, customising widgets using Kivy Properties
Full code
your_filename.py:
from kivy.app import App
from kivy.uix.label import Label

class YourApp(App):
    def build(self):
      root_widget = Label(text='Hello world!')
      return root_widget

YourApp().run()