For another museum project, Arnaud asked me to see if we could integrate Facebook in an app on Android. The usual libraries are made for desktop, and manually open a webbrowser to handle the user authorization. But that’s not really nice for us, it would be nicer to have a native integration instead. Let’s see how we can use the official Facebook Android SDK.
Prerequisites
You’ll need to have:
– Kivy’s python-for-android
– A Facebook account (obviously)
– Facebook SDK 3.0
Get the example
Clone the Kivy/Facebook example:
$ git clone https://github.com/tito/p4a-facebook-example
Register a Facebook application
- Go to the Facebook developers interface
- Click on

- Fill the information “App Name”. Don’t put “FB” or “Facebook” in the title, or your application name will be considered as Invalid

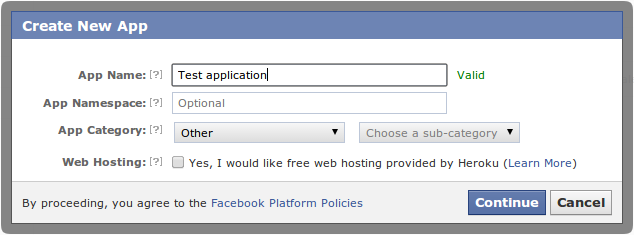
- Pass the captcha
- Write down your application id somewhere

- Now, you need to activate Native Android App. The package name is the same name as the one we will pass in
--packagewhen building the APK. The Class Name is thepackagename/activity. Activity class is always the same for all the applications compiled with python-for-android.
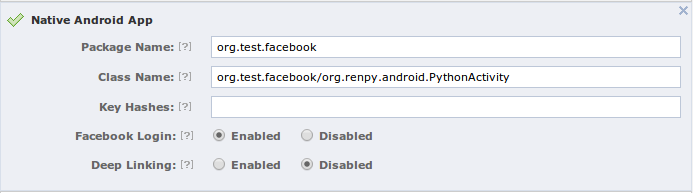
- Right now, the Facebook Android SDK will not authorize our android application to be used, because Facebook want to know the signature hash that will be used by our generated APK. To generate the key hashes, you need to use the keytool. Here is an example for the android “debug” key:
$ keytool -exportcert -alias androiddebugkey \
   -keystore ~/.android/debug.keystore | \
   openssl sha1 -binary | openssl base64
Enter keystore password:  android
u+bzQmG87L298C4KGM8yODi3W/4=
Copy the generated key hash, and paste it to the field:
Setup the our application
- Go into
p4a-facebook-example, and edit themain.py - Search for
FACEBOOK_APP_ID, and replace with your own Application Id - Go into python-for-android, and create a distribution:
$ ./distribute.sh -m 'kivy'
- Go into the
dist/default - Generate the APK one time (for generating all the file we need to customize). Replace
/path/to/p4a-facebook-example:./build.py --name "Facebook test" --package org.test.facebook \ --version 1 --private /path/to/p4a-facebook-example/ \ --window --permission INTERNET debug
- Add a new reference to
project.propertiesto include the Facebook SDK. The path to the Facebook SDK MUST be a relative path, otherwise you’ll get issues during the next build.android.library.reference.1=../../facebook-android-sdk-3.0.2/facebook
- Edit the
templates/AndroidManifest.tmpl.xmlto include the Facebook login activity, just under the<application>:<application android:label="@string/appName" android:icon="@drawable/icon"> <activity android:name="com.facebook.LoginActivity"/>
- Rebuild your application… and you’re ready to test
- Install the application on your device:
adb install -r bin/Facebooktest-1-debug.apk
Test your application
The Facebook SDK 3.0 require to separate read and publish permissions. To the user, it means you’ll have 2 dialog to accept. Even if you just want to publish to the application stream, you need to have the basic permission (read) accepted by the user before publish permissions. This is already implemented in the example app.
When you start the application the first time, you’ll have:
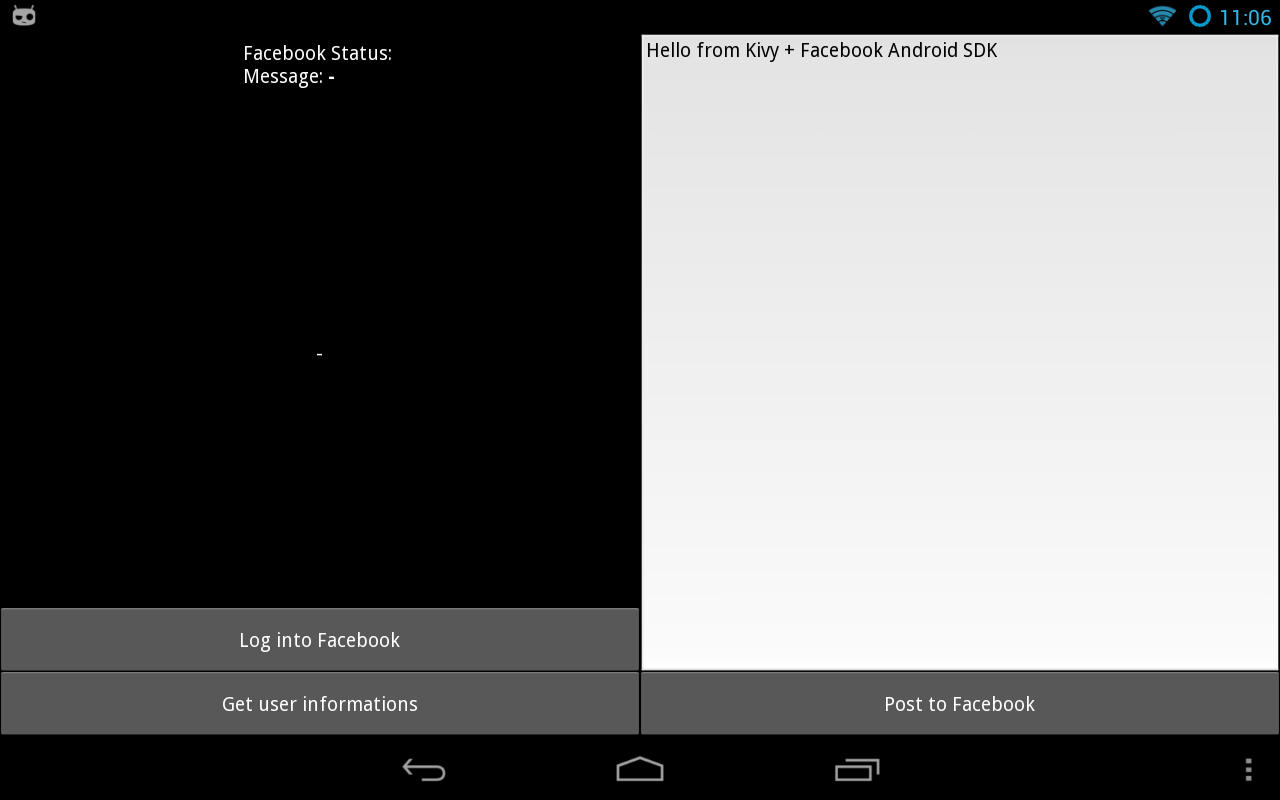
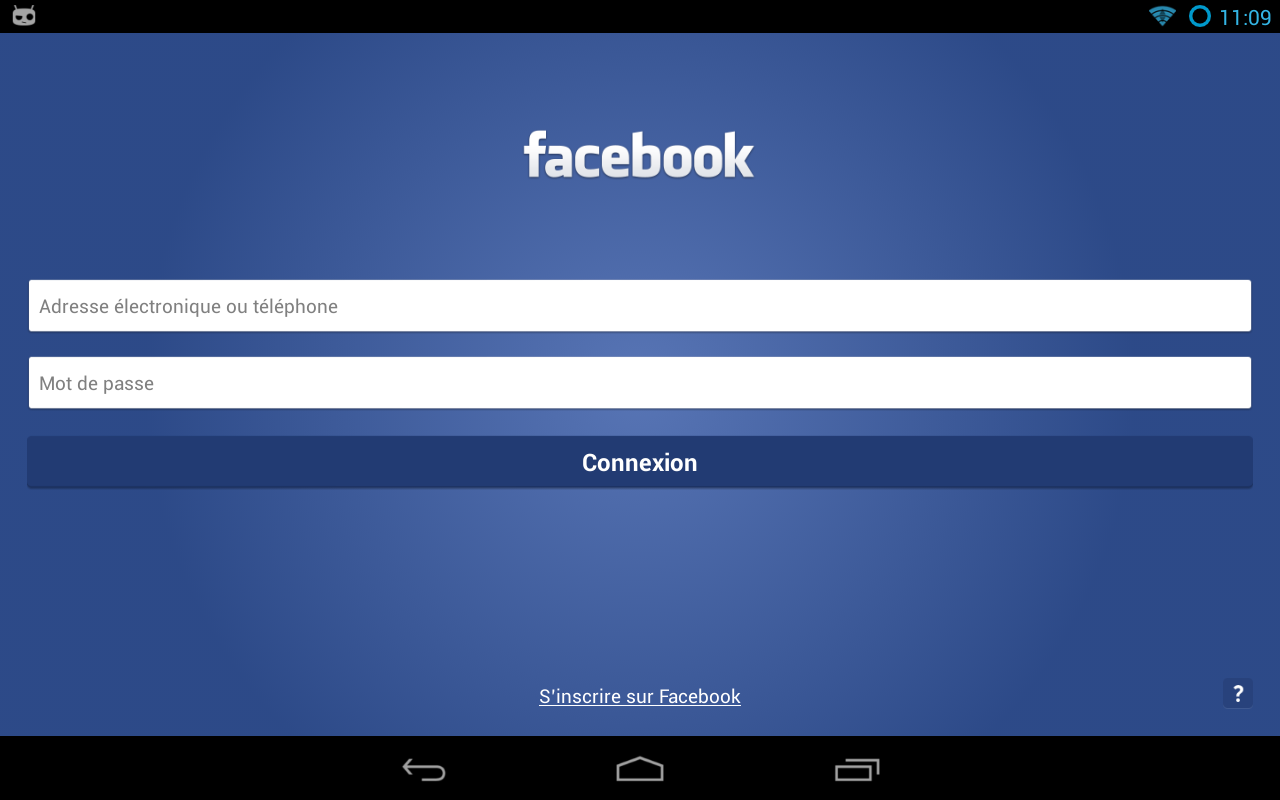
Depending if you have the Native Facebook application or not, you’ll have 2 kinds of authentification boxes.
Without Facebook installed on the device:

And with Facebook installed on the device:
After authentication, the user will need to accept our permissions:

It’s done!
The application have now the right to post The example post in the user stream as the application itself, not as the user. It’s called “publish_actions”.
Getting further
Obviously, when you use the Facebook SDK itself, you feel the pain of an API designed for Java. For every callback that Facebook want to call, you need to implement a Java class and define the callback method. Python is really simpler and fun to use.
See for yourself: we want to make a call of “Request.newStatusUpdateRequest“. Se weed first to implement a GraphUserCallback class, in Java. Thanks to Pyjnius, we can do it directly in Python:
class _FacebookGraphUserCallback(PythonJavaClass):

    __javainterfaces__ = ['com.facebook.Request$GraphUserCallback']
    __javacontext__ = 'app'

    def __init__(self, callback):
        self.callback = callback
        super(_FacebookGraphUserCallback, self).__init__()

    @java_method('(Lcom/facebook/model/GraphUser;Lcom/facebook/Response;)V')
    def onCompleted(self, user, response):
        self.callback(user, response)
This Python/Java class will call our own python callback when the Java callback onCompleted will be called. Then:
@run_on_ui_thread
    def post(self, text, callback):
        req = Request.newStatusUpdateRequest(
                self._session, text, _FacebookRequestCallback(callback))
        req.executeAsync()
All you have to do at the end, is to call the post method:
def fb_post(self, text):
        def callback(*args):
            from time import time
            self.post_status = 'message posted at {}'.format(time())
        self.facebook.post(text, callback=callback)
I don’t provide a wrapper around all the possible Request method you can do with Facebook. I just have an example for “post” and “me”. Both wrap “Request.newStatusUpdateRequest” and “Request.newMeRequest“. Please note that every request call must happen in the UI thread. Use the python-for-android/runnable module for that, with @run_on_ui_thread decorator.
The end
It was not easy to get it right, and it still complex to make all the pieces together. I’ve tried to use their own LoginButton (because they said that’s how they want it, everywhere), but i’ve not be able to use it in our app. Mostly because the LoginButton is a pure android widget, and because it doesn’t want to bring back the Activity after login. I was stuck too much time on it, and preferred to go in another way.
Please note that you should not share an application with a fake Facebook button, the design / look-and-feel must be the same as the original one.
I hope that will help some of you to get started !


