This guide describes how to turn your Kivy/Python app into an APK, by running the buildozer build tool in a virtual machine. This is not the only way to run buildozer, it can work natively on Linux or MacOS or be run from the Windows Subsystem for Linux. See the Kivy documentation for more general instructions.
Creating a Virtual Machine
I’ll be using VirtualBox. Other virtualisation software should also work, but you’ll need to adapt the specific instructions.
We also need a target OS. I recommend Lubuntu 18.04, available here (or direct download link). Lubuntu is a light weight Ubuntu variant. You can also use a different distro if you like, but may need to adapt the later instructions.
Once you have downloaded the Lubuntu iso file, start VirtualBox and press New to create a new virtual machine. You’ll see a dialog like the following:

Fill in the other options as shown in the image. It’s fine to set a larger memory size if you have enough available, or less may also work fine. Then press Create to continue.
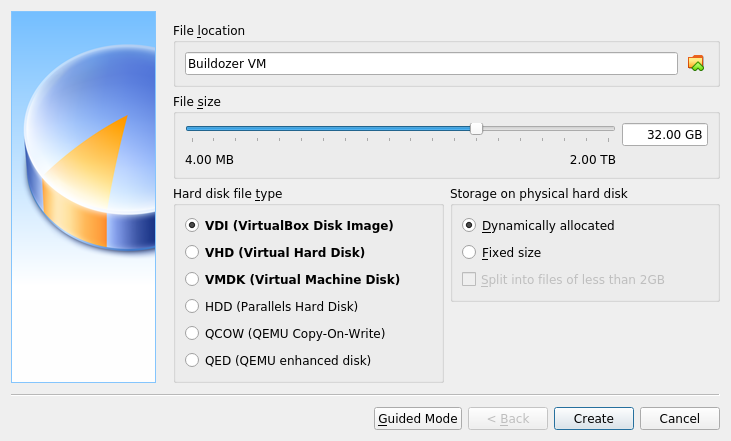
You now need to select a file size for your virtual hard disk. 15 GB should be sufficient, but it’s safest to double that. Leave the other options unchanged and choose Create to continue.
Now, select your new VM and click Start in the main VirtualBox GUI. You should be prompted to select a virtual optical disk to boot from:
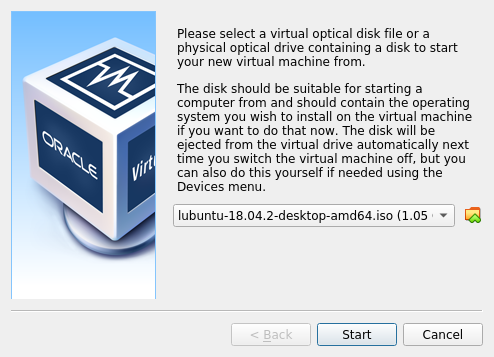
Navigate to your Lubuntu 18.04 iso downloaded earlier, as shown, and press Start to continue. The first screen you see should look something like the following:
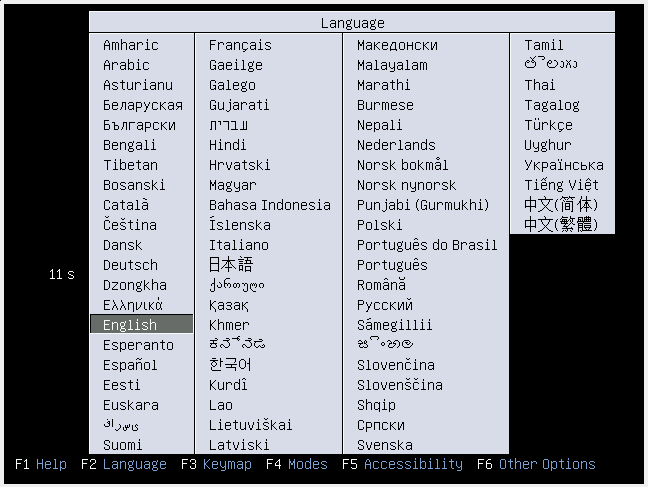
Select your language to see the boot menu:
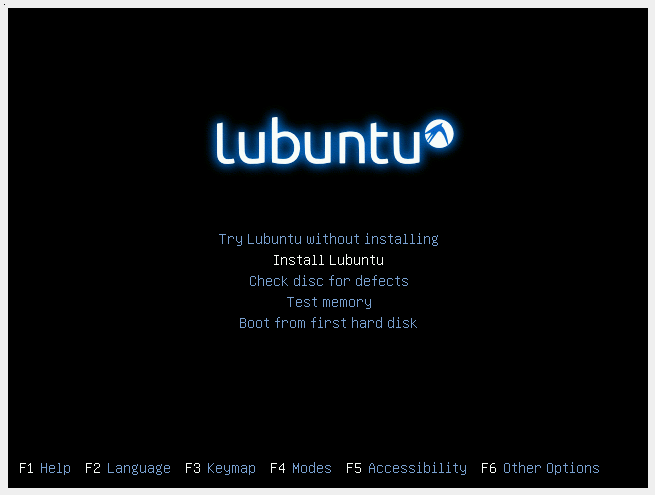
Choose the second option, “Install Lubuntu”. It doesn’t matter if you accidentally press enter to “Try Lubuntu without installing”, in this case there should be an Install Lubuntu application on the desktop that you can click to continue the install process.
You’ll be shown a series of dialogs to help prepare the install process. Clicking through with the defaults is fine, or select other options if you prefer.
The fourth screen will ask what kind of install to use, as shown:
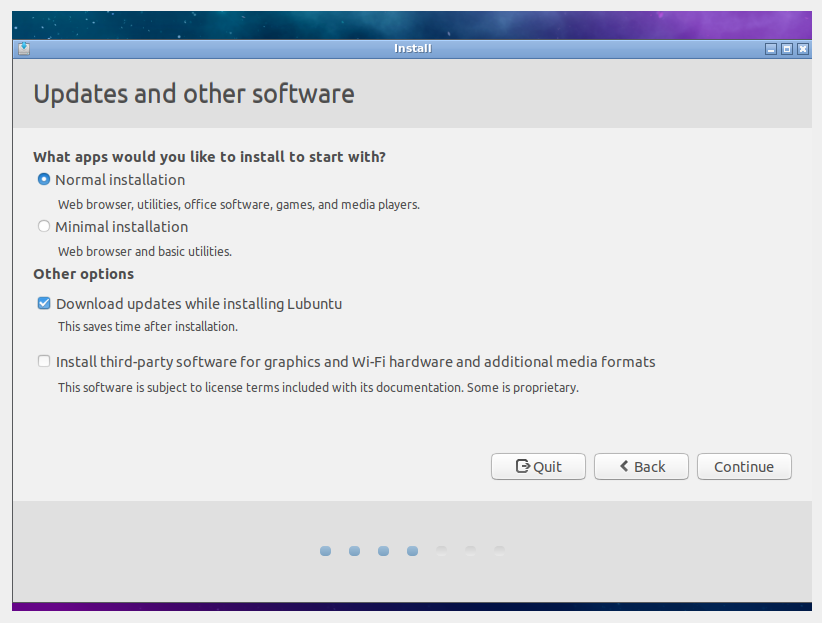
The options shown above should be the defaults, and are what you want to use, so go ahead and continue.
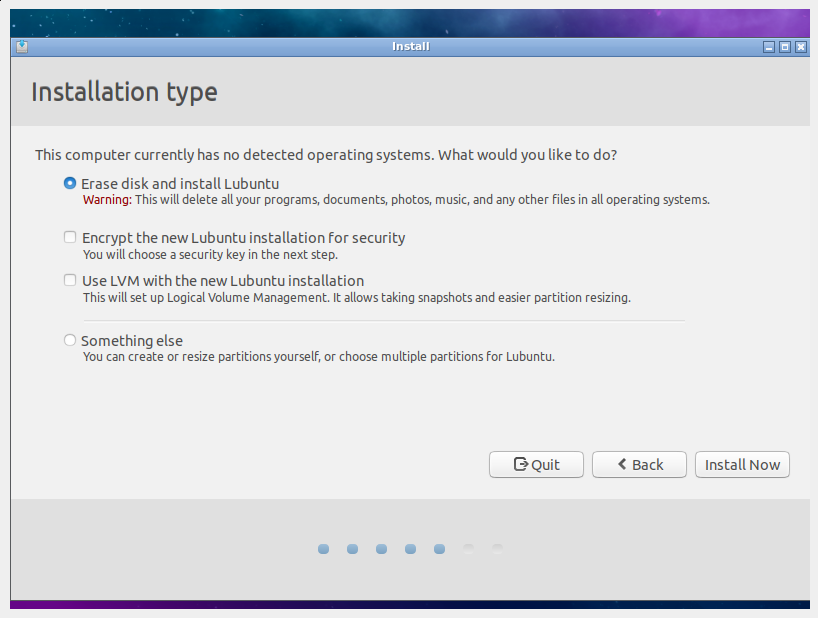
Next, select “Erase disk and install Lubuntu”. Note that this is only erasing the (emtpy) virtual disk image created earlier, it won’t affect your host operating system.
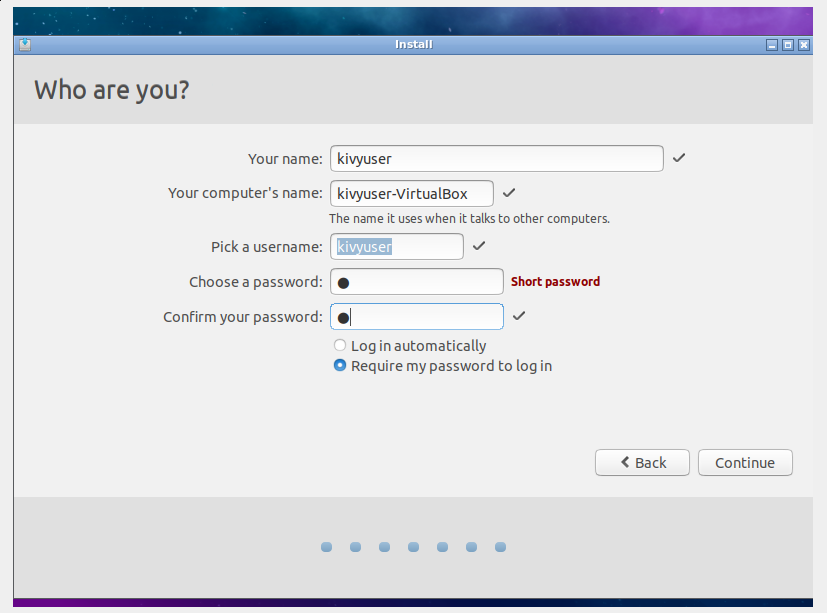
Click through again, and you’ll eventually reach the user creation screen. It doesn’t matter what your username is, I used kivyuser:
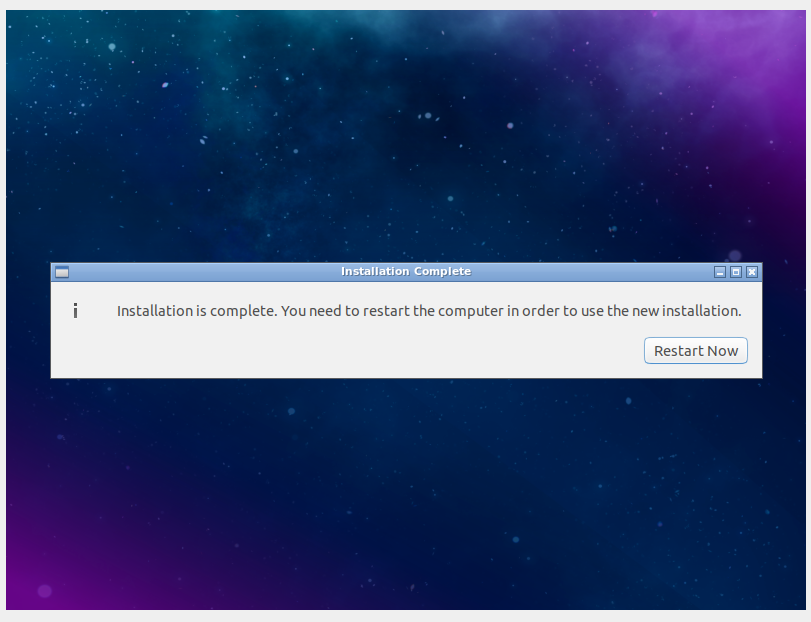
Click “Continue” to finally start the install. You’ll be asked a few more questions, but eventually will just have to wait for the installation to complete. This shouldn’t take too long. You’ll be prompted to “Restart Now”, which you should go ahead and do.
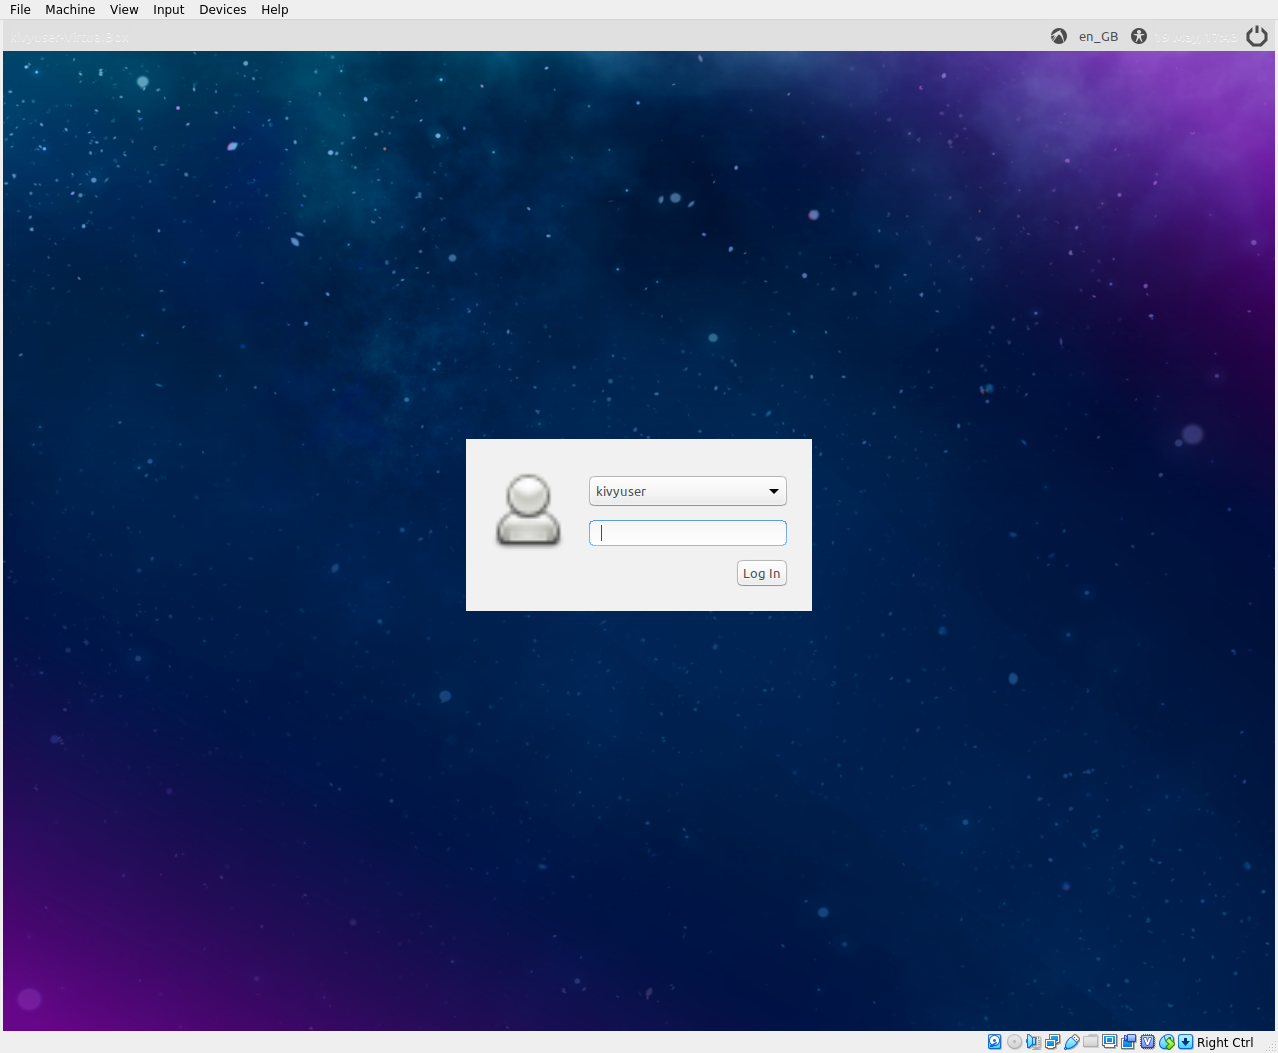
If you have any issues with the virtual machine failing to reboot, go ahead and select Machine > Reset in the VirtualBox menu, it doesn’t matter how you do it as long as the machine is reset. If all goes well, Lubuntu should now automatically boot to a login screen - congratulations, your virtual machine is ready to use! Enter your username and password, and proceed to the next section of instructions.
Setting up buildozer
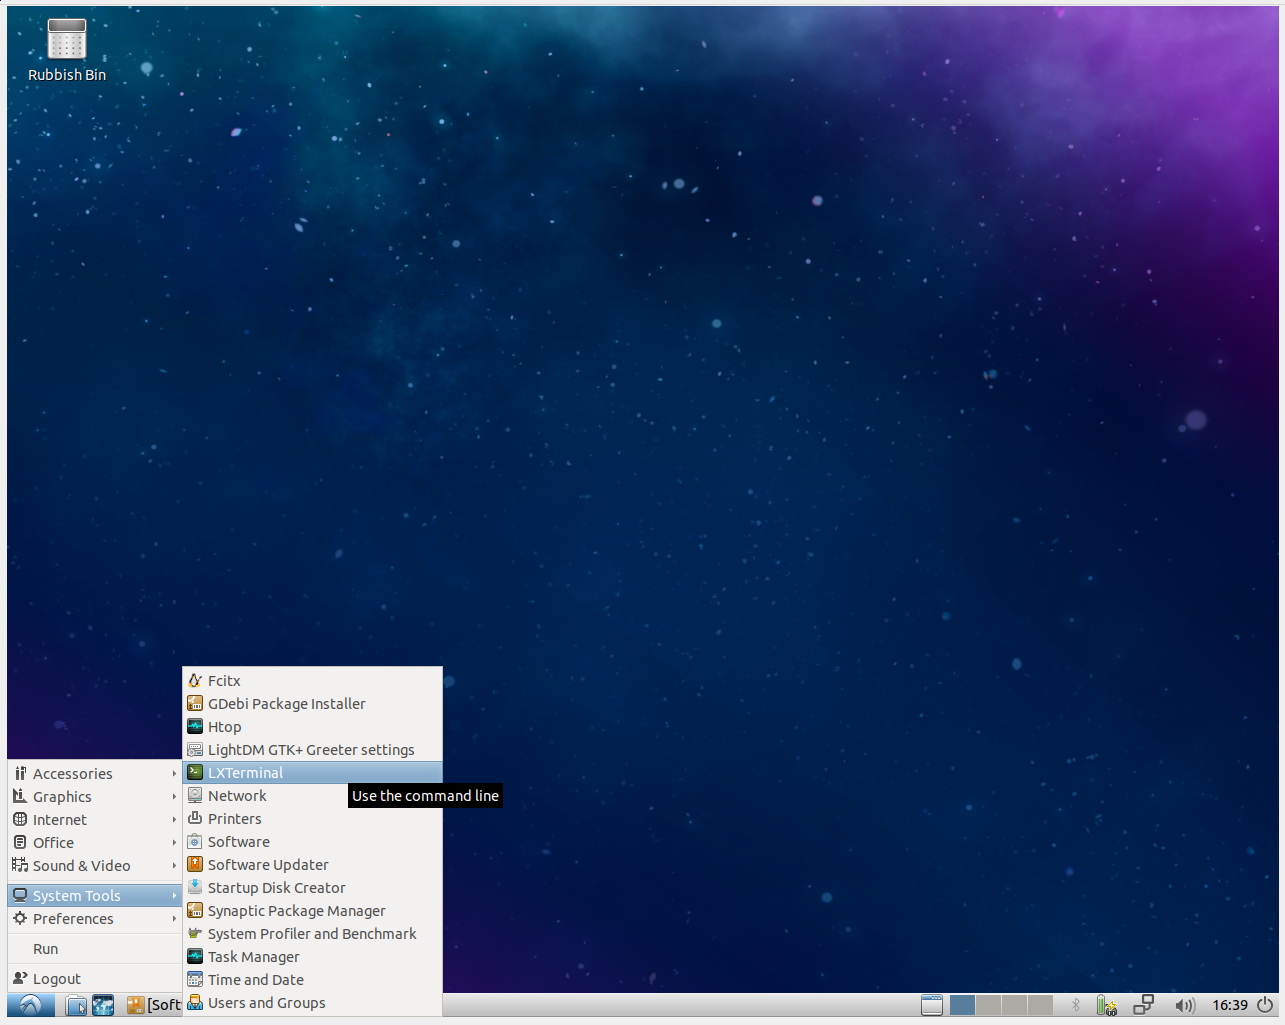
We can now go ahead and set up buildozer ready to build your app. Open an LXTerminal as below:
We now have to run a few commands to install everything buildozer needs to run. Run the following command to do so, and enter your user’s password if prompted:
sudo apt-get install python3-pip openjdk-8-jdk autoconf libtool python3-venv
That should give us everything we need for a basic app, so we can go ahead and install buildozer:
python3 -m venv buildozer-env
source buildozer-env/bin/activate
pip install buildozer cython
Note that we installed cython as well, this is also required for building the APK.
You only have to create the virtual environment once, but if you reboot the virtual machine you’ll need to run source buildozer-env/bin/activate again. See the Python documentation for more details.
The final step before running buildozer is to have your app ready in the virtual machine. You can access a folder in your host machine using VirtualBox shared folders (in the Devices > Shared Folders menu), but I won’t cover the details here. Note though that if you do this you must copy the folder contents to a different folder within the virtual machine, the buidozer process will not work if run within a shared folder.
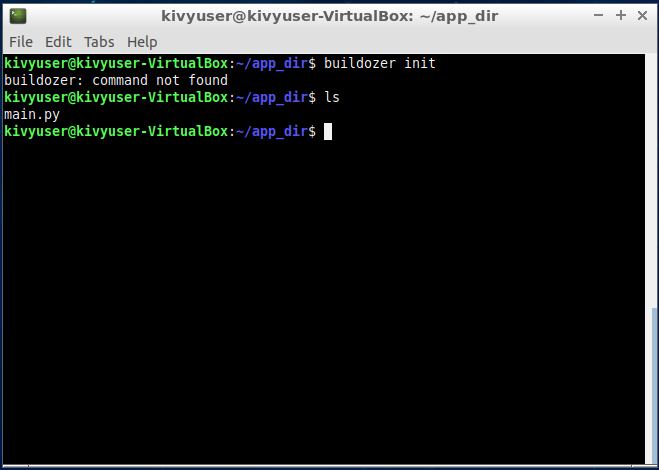
In the following instructions I’ll assume you’ve created a folder named app_dir and placed a main.py file inside it containing your application code. Navigate to this folder in the terminal (cd app_dir) and run:
buildozer init
This will create a buildozer.spec file alongside your main.py:
Edit the buildozer.spec to set any options you like. In this example I’ve changed only the title and pacakge.name options:
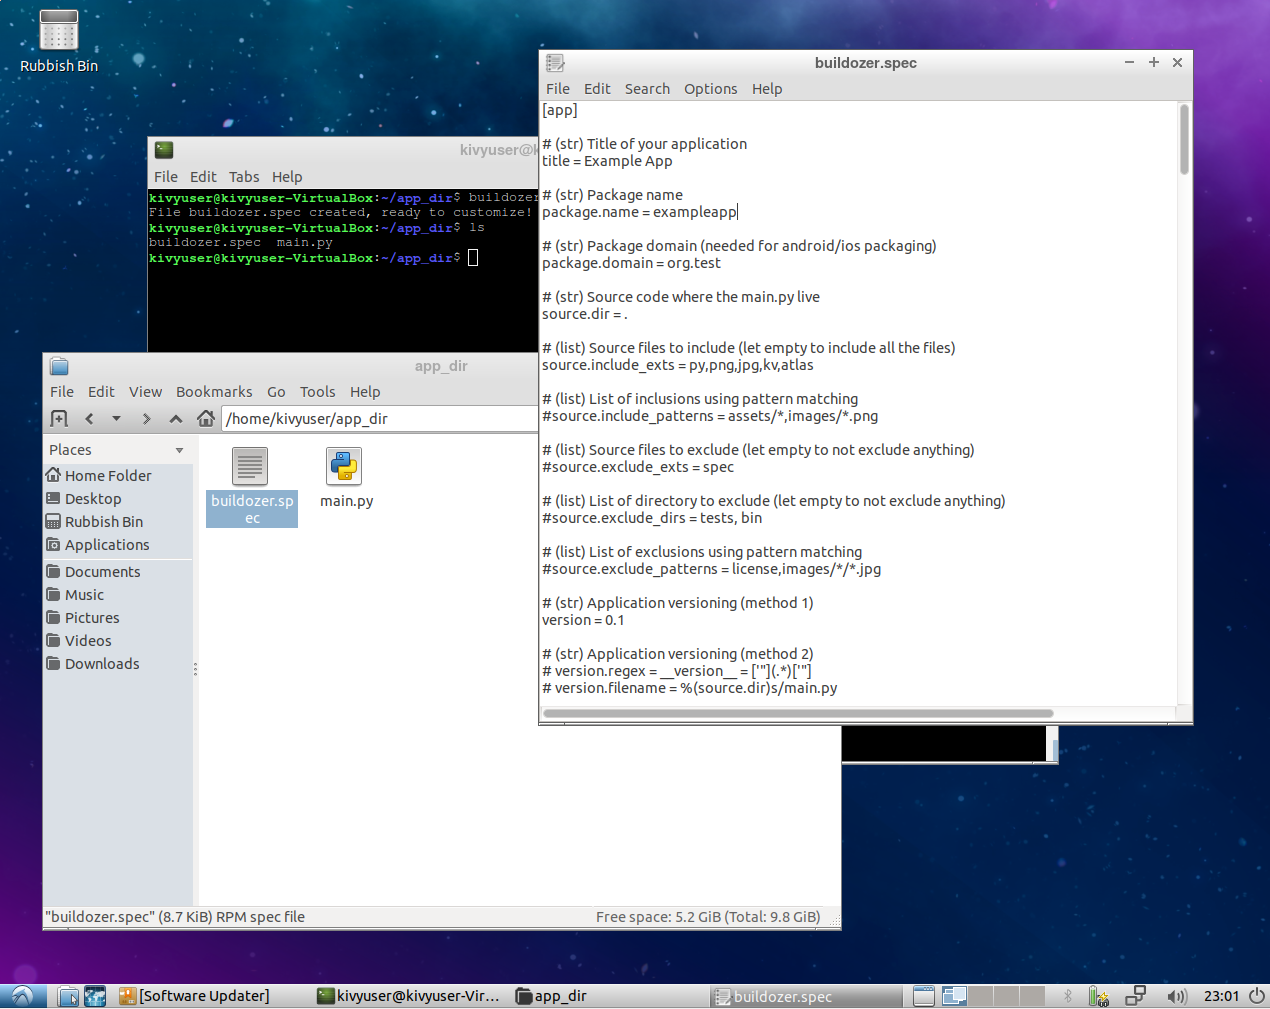
I recommend changing very little for this first build, to make sure everything works. It won’t cause any problems if you edit the buildozer.spec again later.
Running buildozer
We’re now ready to actually build the app into an APK file. Start the process with:
buildozer -v android debug
The -v option asks for verbose output. This is recommended so that you can keep an eye on what’s happening - the details aren’t too important, but you should be able to see that the process never stops in one place for too long.
Buildozer will now download the Android tools it needs. This may take a while.
At some point you’ll be asked to accept the Android SDK license agreement, which is printed for you as in the following image:
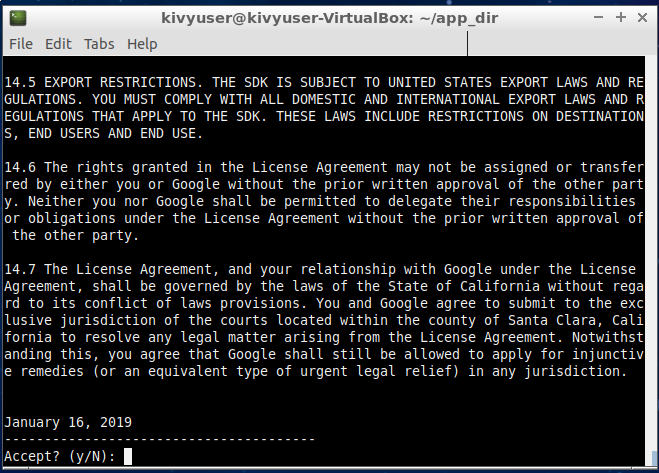
At this point, press “y” and then enter to accept the agreement (or abort the process if you don’t agree). This is necessary even if you don’t see any text asking you to do so, due to a bug in buildozer (fixed in the next release).
After downloading everything it needs, buildozer will work through the build process compiling and packaging each of the components for your app. This may take a while, but as long as it doesn’t crash then everything is fine. Future builds will be much faster unless you change the build options, as only the contents of your app itself will need re-packaging.
Eventually the build will complete, you’ll see a screen like the following:
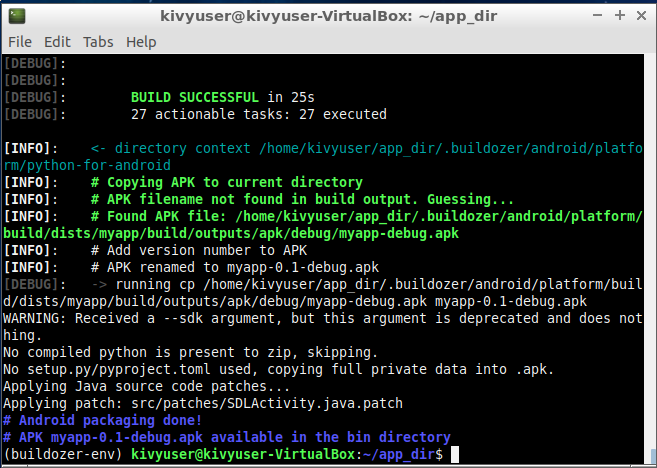
That’s it, you’re done! You can find the finished APK in the bin directory, as noted in the final message buildozer prints.


